You are welcome to the new home of NairaBytes.net This is our first post, and how best to start than with a tutorial.
There are many blogging clients out there and I personally like Blogdesk because its free, neat, light-weight and extremely simple. Blogdesk can be downloaded here. The following is how I setup mywebjournal.net so that it can be updated using Blogdesk.
1) I would assume you have an installation of blogdesk, if you don't, download and install it first.
2) Log in to your Joomla site as administrator,
goto the Site Menu >> Global Configuration >> System, enable web-services by setting it to YES.
3) Download and install the Movable Type XML-RPC plugin. Make sure it is enabled: goto Extensions >> Plugin manager:
4) Launch Blogdesk and create a new blog: File menu >> manage blogs >> new
File Menu >> Manage blogs >> New
- Give your blog any meaningful name for identification purposes, ex:Nbytes
- click next
- blog address: type your blogs address, example: http://www.nairabytes.net
- click next
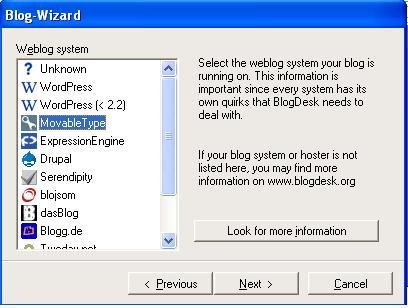
- Select movable type
- click next
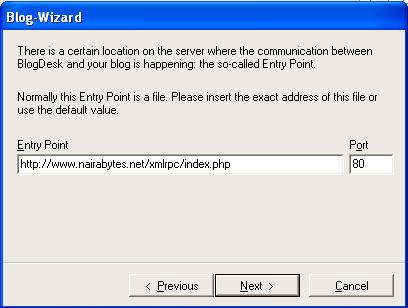
- Entry Point: http://www.nairabytes.net/cgi-bin/mt-xmlrpc.cgi is a default for the domain name I typed in. Yours will depend your own domain name. We need to modify the ending part as follows: http://www.nairabytes.net/xmlrpc/index.php. Notice the difference between the old and new end part of the entry URLs: change cgi-bin/mt-xmlrpc.cgi to xmlrpc/index.php.
- click next
- Enter your login and password
- click next
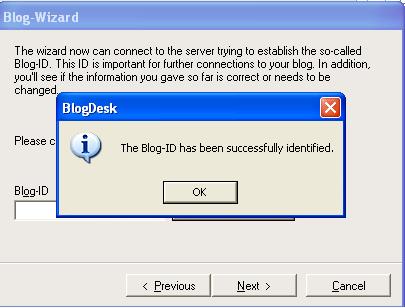
- Get BlogID
- click next
- Get Categories
- click next
- Test upload
- Finish
Enjoy.
Hope the above procedure was clear enough and you were able to configure Blogdesk successfully for your weblog. I would like to hear from you. Or perhaps you use another blogging client, pls share your experience.
Leave a comment below!