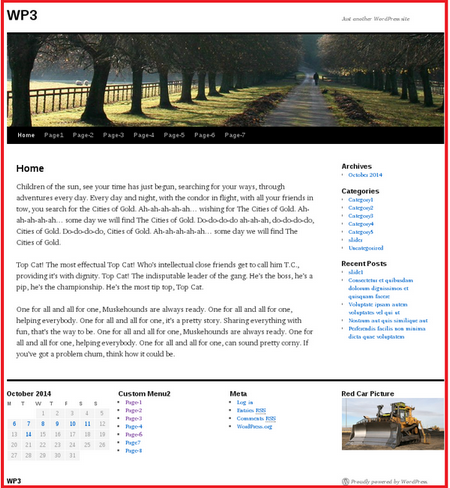
After installing Wordpress and publishing a few widgets, the Twenty-Ten theme looks like this:
Figure-1:

In this tutorial, we want to move the Navigation menu above the Header image. All we are going to do is just cut and paste.
We need to edit file: header.php.
Steps:
1) Copy file 'header.php' from parent-theme folder(twentyten) into child-theme folder(twentyten-child). How can you create a child theme? Wordpress Tutorial: how to create a child theme
2) Edit header.php and look for the line of code starting with:
<div id="access" role="navigation">
3) Cut the following text:
<div id="access" role="navigation">
<?php /* Allow screen readers / text browsers to skip the navigation menu and get right to the good stuff */ ?>
<div class="skip-link screen-reader-text"><a href="#content" title="<?php esc_attr_e( 'Skip to content', 'twentyten' ); ?>"><?php _e( 'Skip to content', 'twentyten' ); ?></a></div>
<?php /* Our navigation menu. If one isn't filled out, wp_nav_menu falls back to wp_page_menu. The menu assiged to the primary position is the one used. If none is assigned, the menu with the lowest ID is used. */ ?>
<?php wp_nav_menu( array( 'container_class' => 'menu-header', 'theme_location' => 'primary' ) ); ?>
</div><!-- #access -->
4) scroll up and paste it right under this line of code:
<div id="site-description"><?php bloginfo( 'description' ); ?></div>
5) save file header.php and refresh your browser.
Twenty-Ten's new look:


